
Product Care 101 SOJA&CO. Edition
follow the tips below to get the most out of your local, eco-friendly, and toxin-free products

Candles
elevate every burn: simple care tips for a clean flame, even melt, and flawless ambiance—every single time
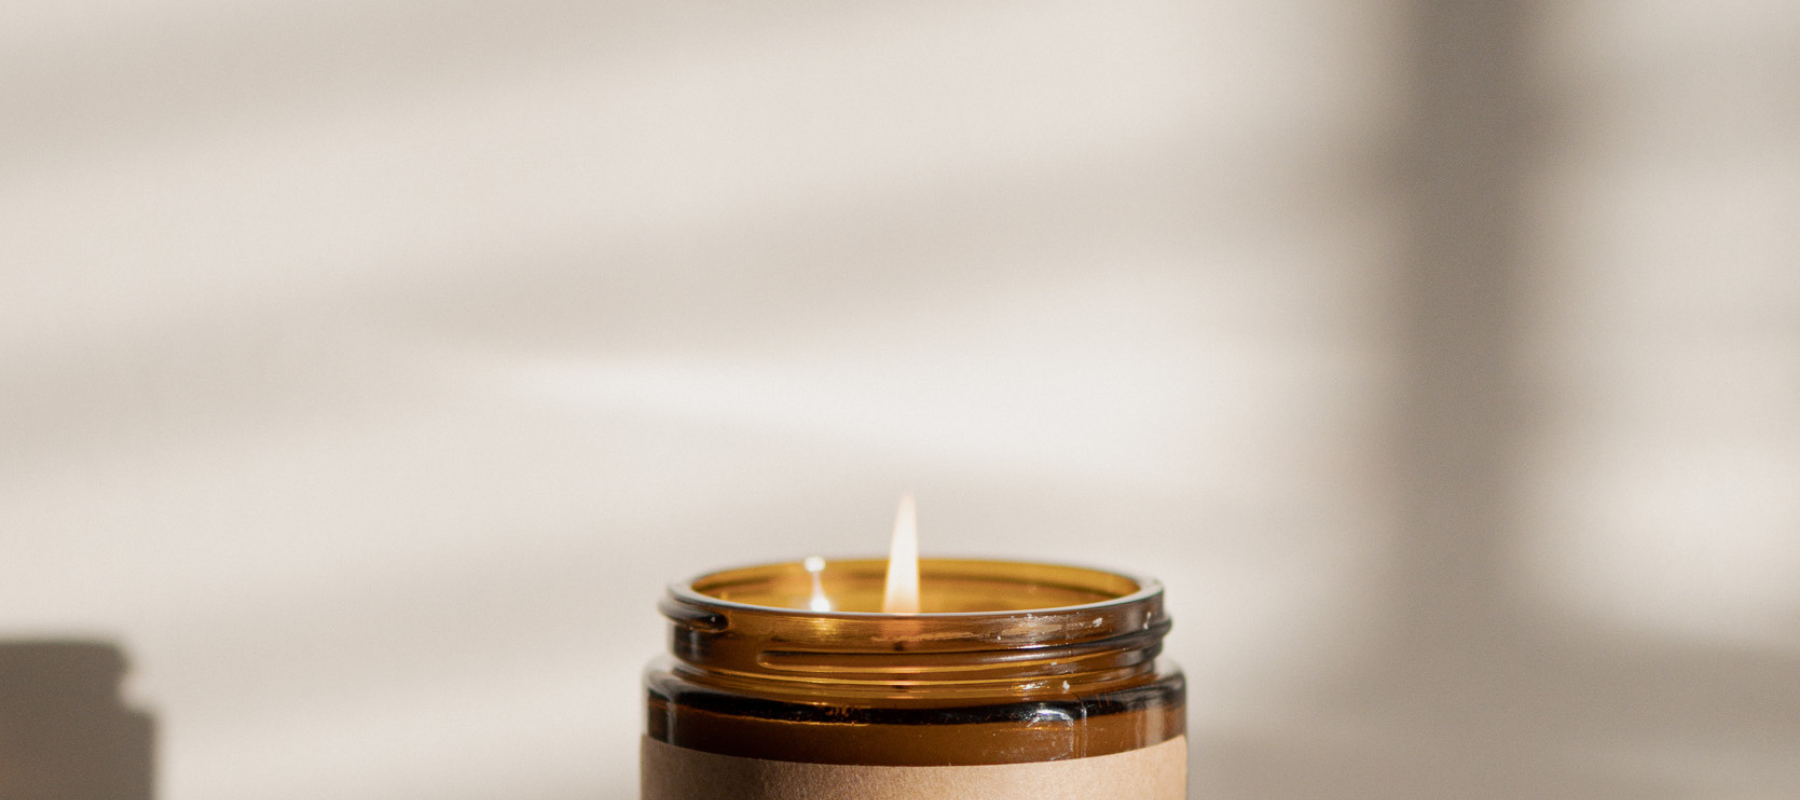
01. before the first use
- cotton wicks should be trimmed to 1/4 inch above the wax surface before each use
- place the candle on a stable, heat-resistant surface—away from children, pets, drafts, and flammable materials
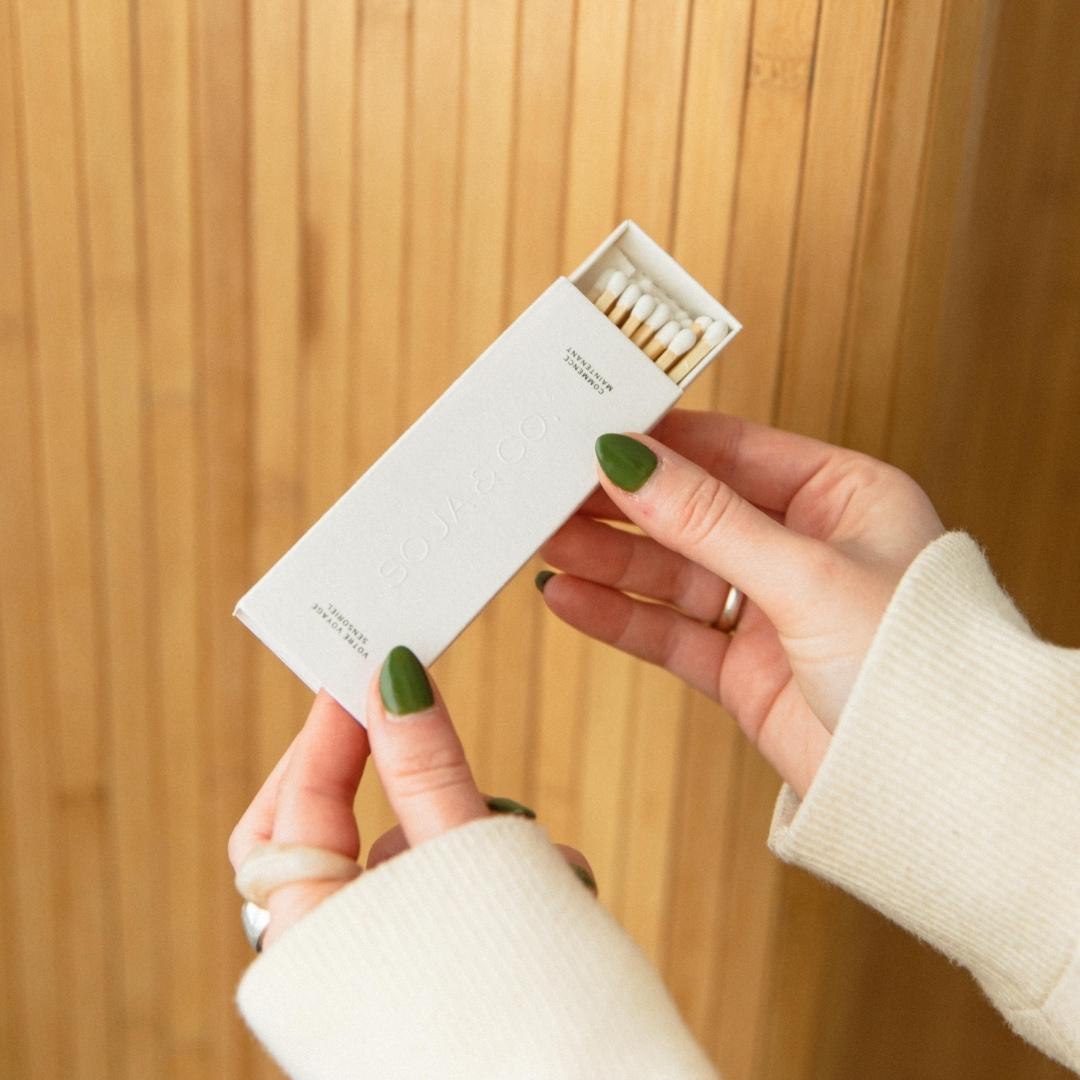
- to light the candle, tilt it slightly and hold a lighter or match to the wick for a few seconds


02. during the first use
- always allow the entire surface to melt (1–2 hours depending on the size) to prevent tunneling and wick drowning
- do not burn the 2 oz format for more than 2 hours — the jar may overheat
- for larger sizes, limit each burn to 4 hours (ideally 2–3 hours per cycle)
- recenter the wick after each use, while the wax is still soft, to help prevent the glass from cracking
03. for your next uses
- always trim the wick to 1/4 inch before each use — a wick that’s too long or too short can cause the flame to go out
- remove any ash, match remnants, or debris from the wax before lighting
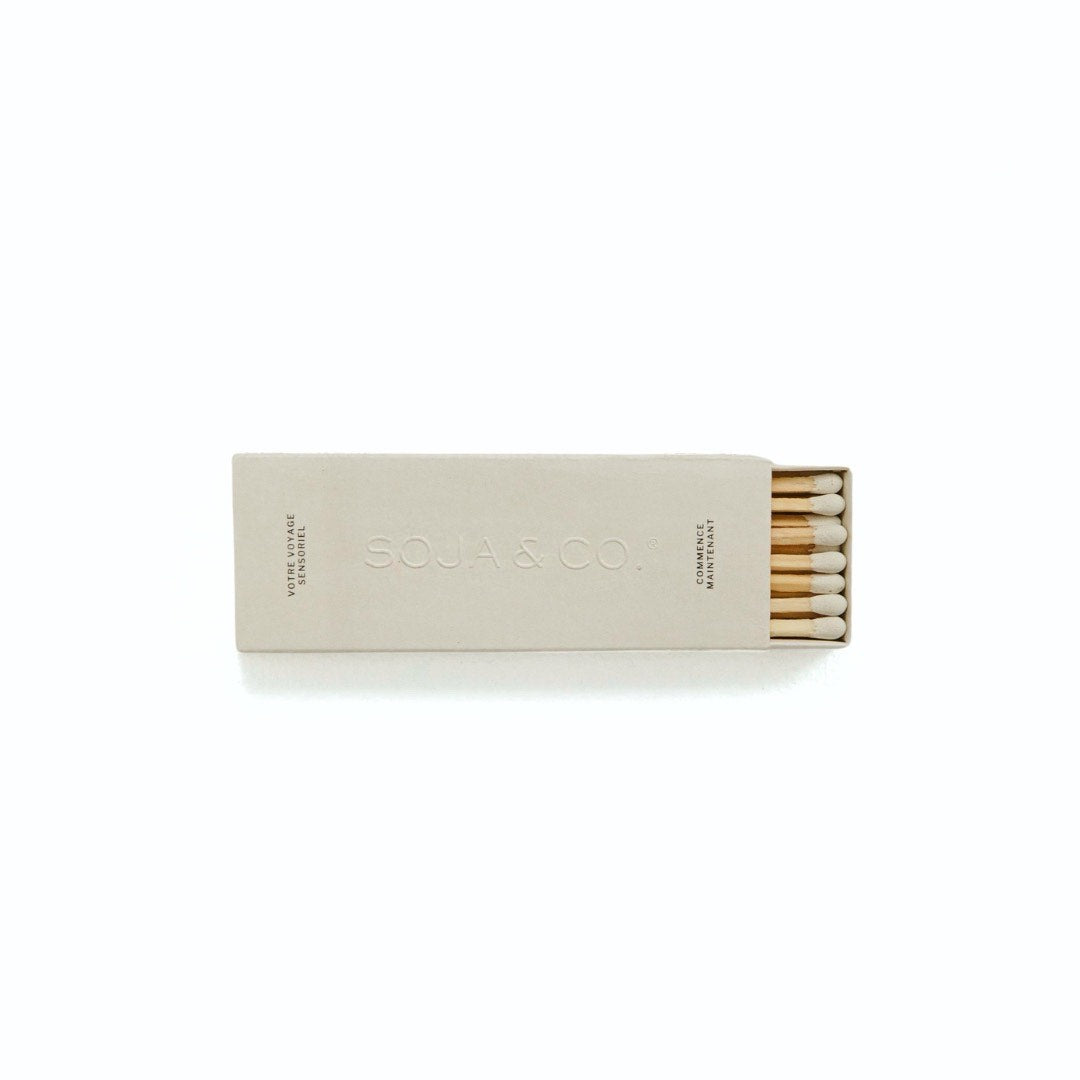
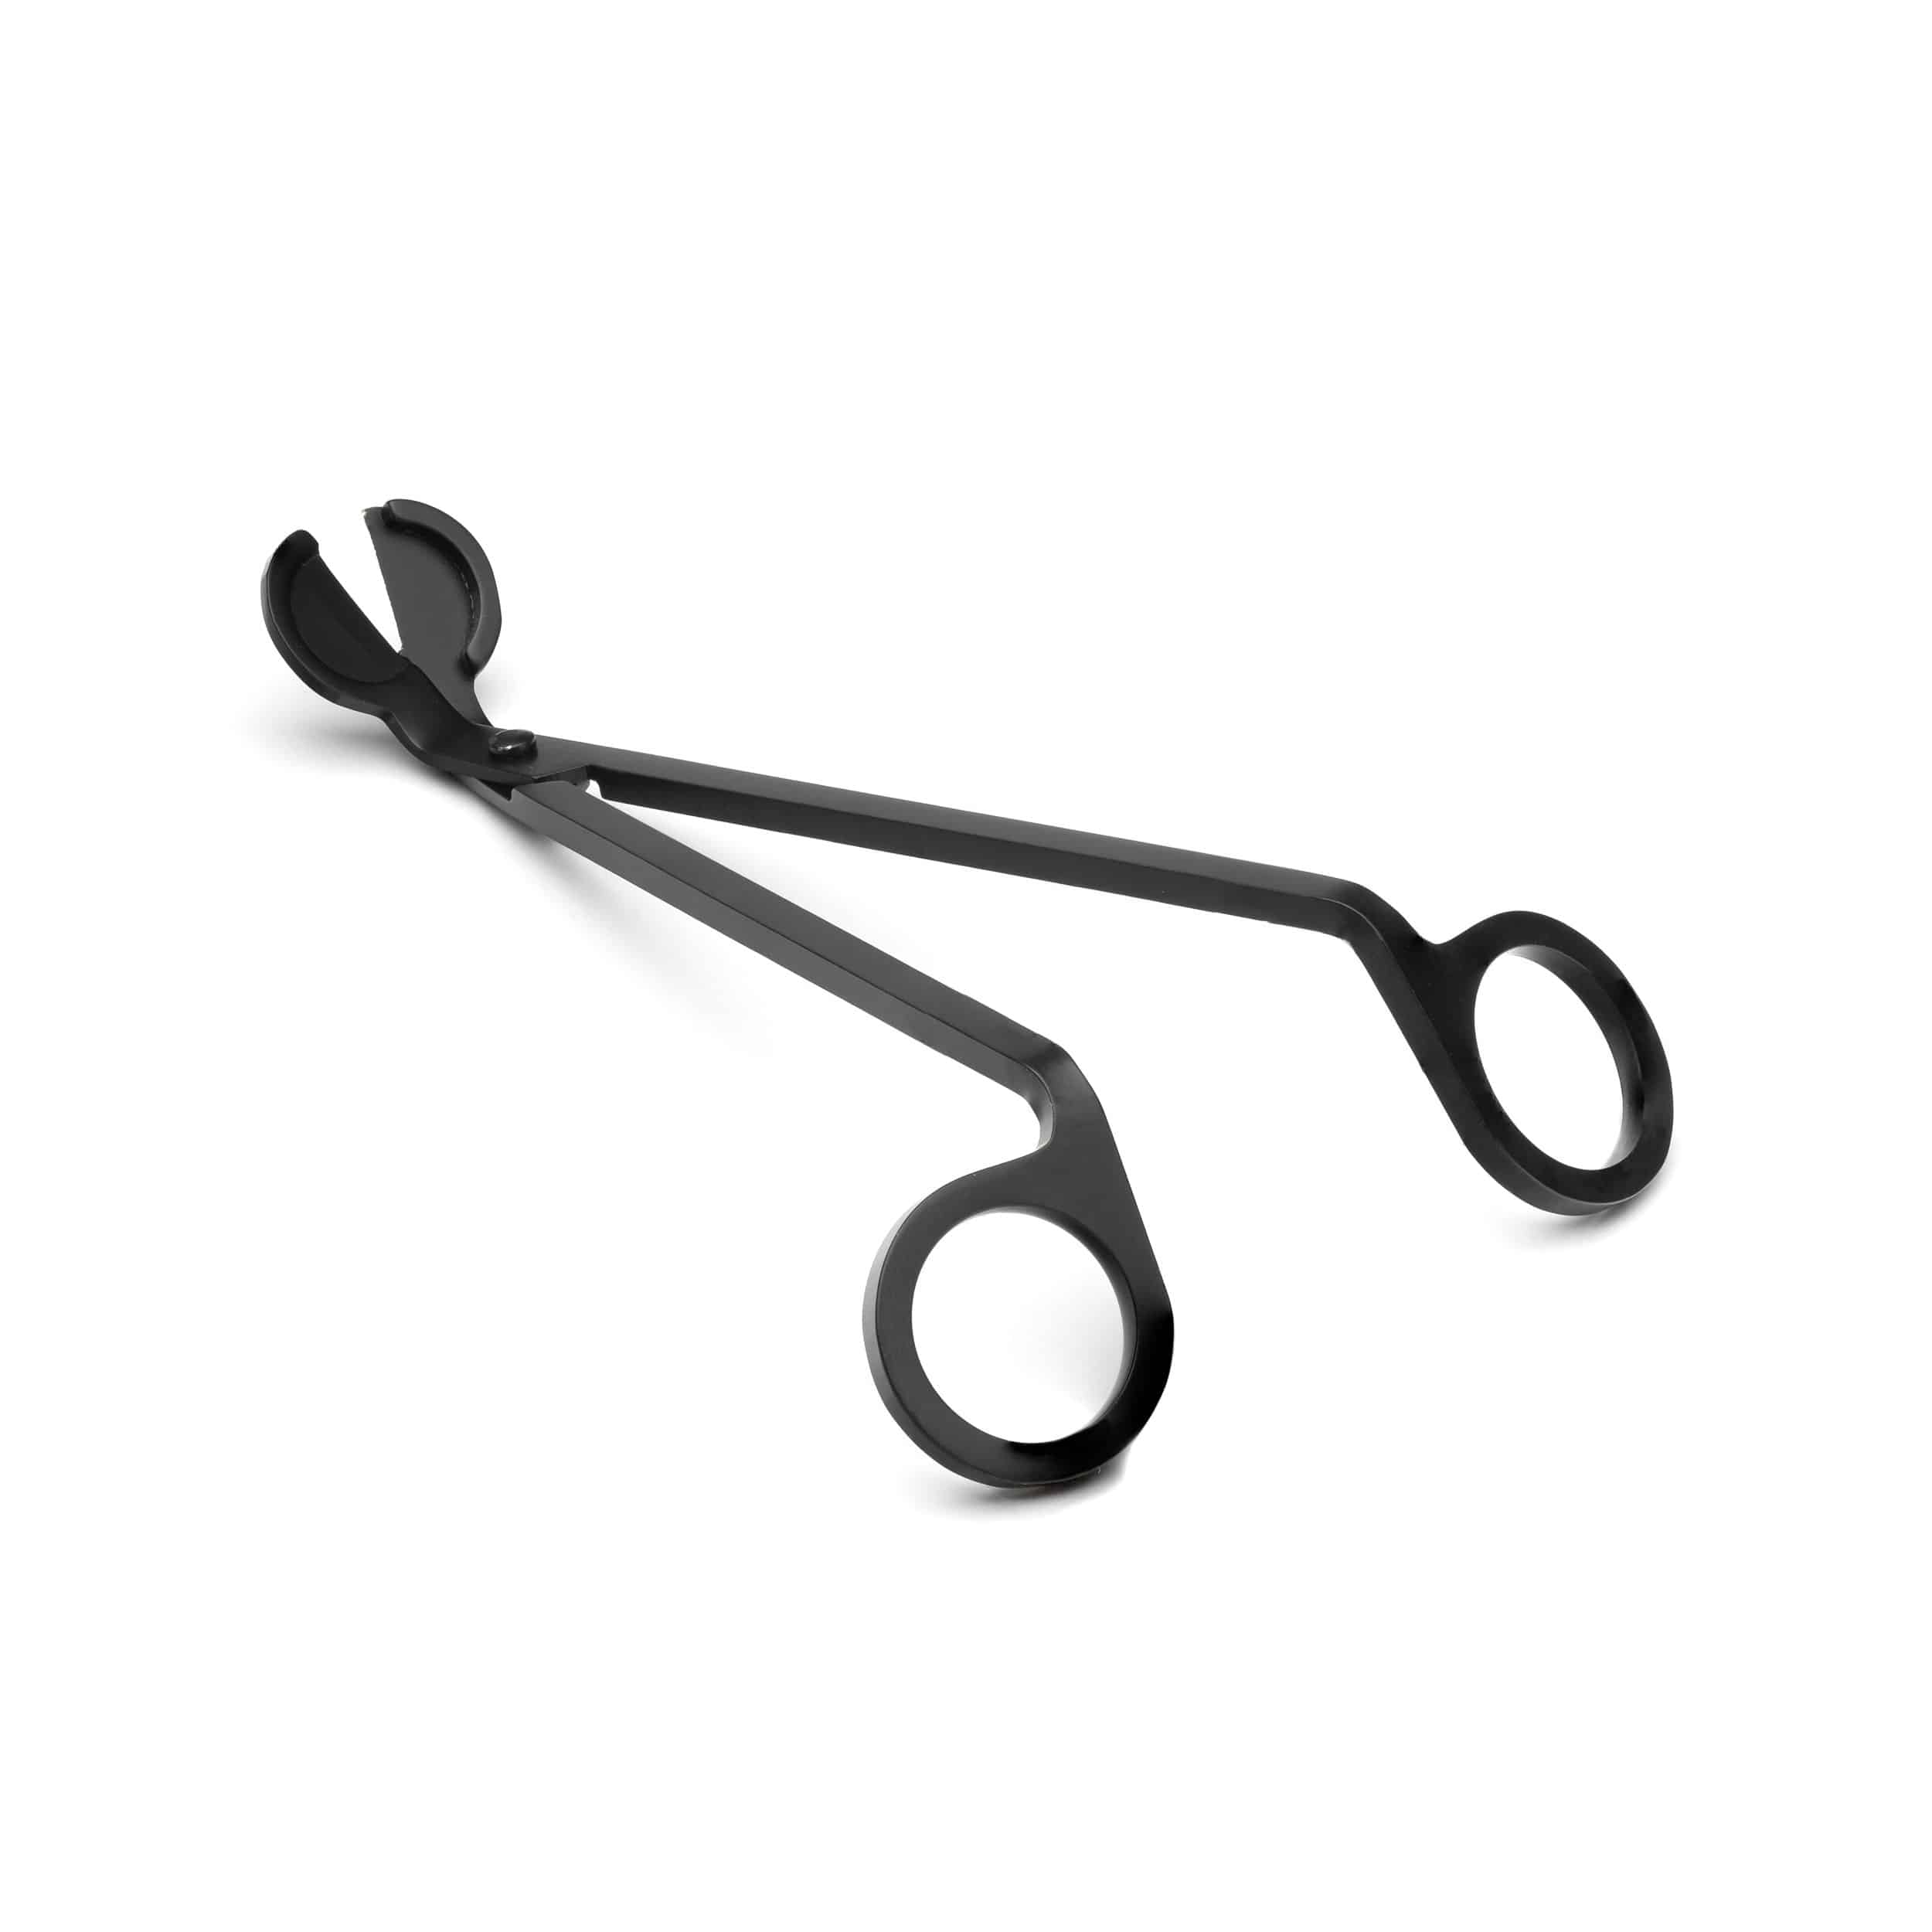
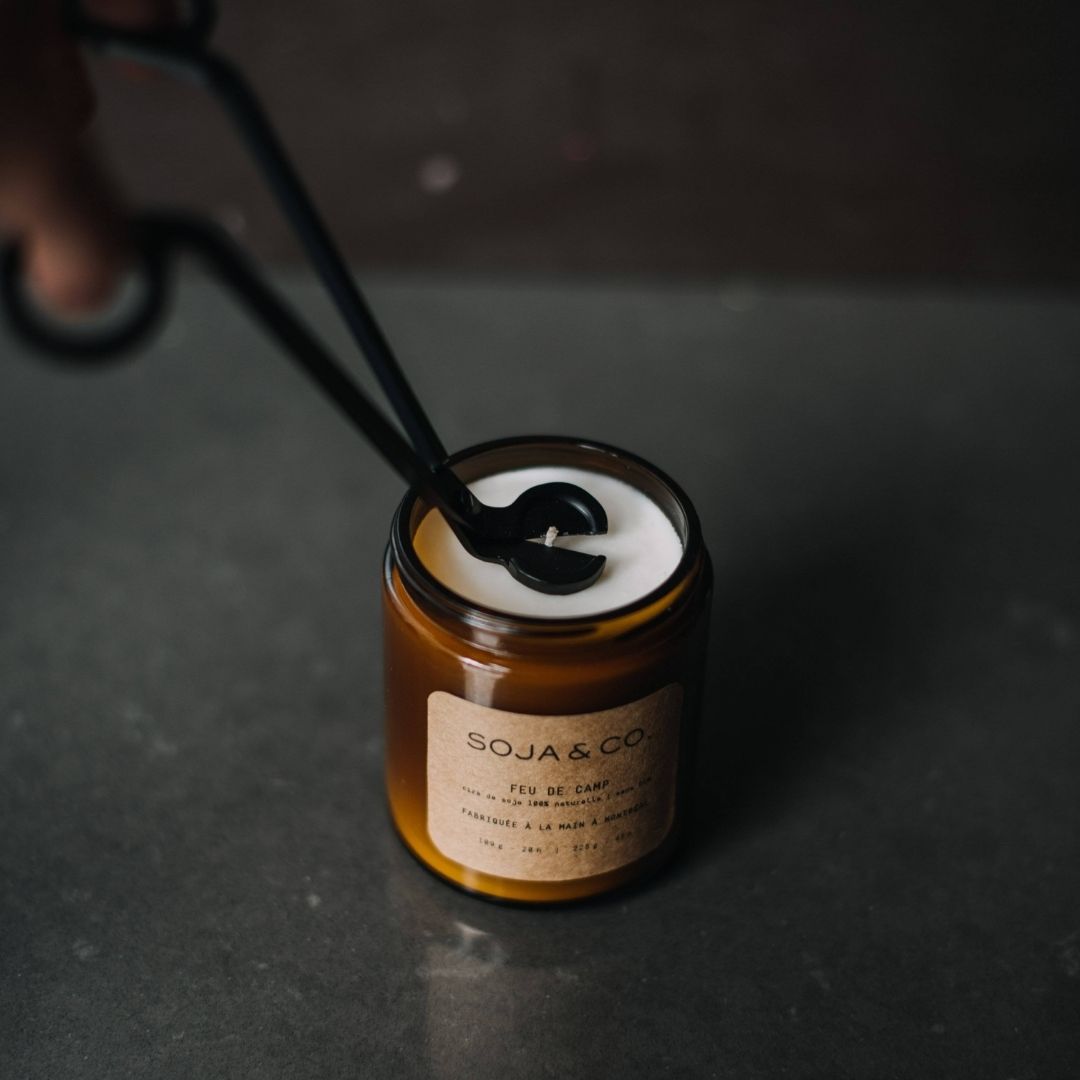
- to extinguish the candle, use a snuffer to avoid smoke and splattering


04. help! my wick keeps going out!
- wax tunneling: melt the surface using a hairdryer or a match (be cautious with the heat), then absorb the excess wax with a paper towel or level it gently with a rounded knife
- ash buildup: remove it before lighting—otherwise, the flame may be too weak
- poorly trimmed wick: always trim cotton wicks to 1/4 inch before each use to prevent the flame from going out too soon
05. give your jar a second life
- when about 1/4 inch of wax remains, your candle has reached the end
- place the jar in the freezer or pour boiling water over the cooled wax to help remove it
- hand wash with mild soap and give your jar a second life — it’s your turn to get creative! here are a few of our favorite reuse ideas (and we’d love to see yours too!)

Reed Diffusers
discover how to choose, place, and care for your reed diffuser to keep it working beautifully and filling your home with fragrance
01. how to use it
- remove the reed diffuser from its packaging and unscrew the cap insert the reeds into the container one at a time, spreading them out evenly to ensure they absorb the fragrance oil
- allow the reeds to soak in the oil for a few minutes, then flip them so the saturated ends face upward, releasing the scent into the air
- reed diffuser works better in small to medium room


02. flipping the sticks
- it’s best to flip the reeds every one to two weeks. however, you can adjust this based on your preference for a stronger or more subtle scent
- if the fragrance starts to fade or becomes less noticeable, it’s a good sign that the reeds need to be flipped
03. replacing the sticks
- high-quality reeds can last up to six months, but you may notice a decrease in scent intensity after the first month
- for best results, we recommend replacing your reeds every two to three months


04. how to extend the lift of a reed diffuser
- flip the reeds regularly for even fragrance diffusion, and clean them with a soft cloth to remove dust
- keep the diffuser away from sunlight and heat to prevent faster oil evaporation
- for a more eco-friendly option, refill your diffuser with fragrance instead of replacing it
Portable Diffusers
your signature scent, on the go: tips to get the most out of your car diffuser
learn more about how they work and their clean formula right here
01. unbox and fill
- take the empty diffuser and scented oil out of their packaging
- unscrew the wooden lid
- use the dropper to fill the diffuser with scented oil
- securely fasten the lid


03. attach
- a simple knot in the cord lets you adjust the height and attach it wherever you like: car rearview mirror, closet, locker, and more
- breathe in and enjoy!
04. do's
- when the scent fades, gently tilt the diffuser to let the lid absorb the oil
- avoid tilting for too long or flipping it upside down to prevent spills


05. don'ts
- avoid shaking the diffuser once it's filled — a saturated cap could crack, leak, and damage the surface where it's hanging
- in case of spills, clean immediately
- prolonged exposure to sunlight may alter the oil’s color — this is completely normal
06. go green
extend the life of your diffuser by refilling it with our 30 ml refill — enough to top it up over 4 times!

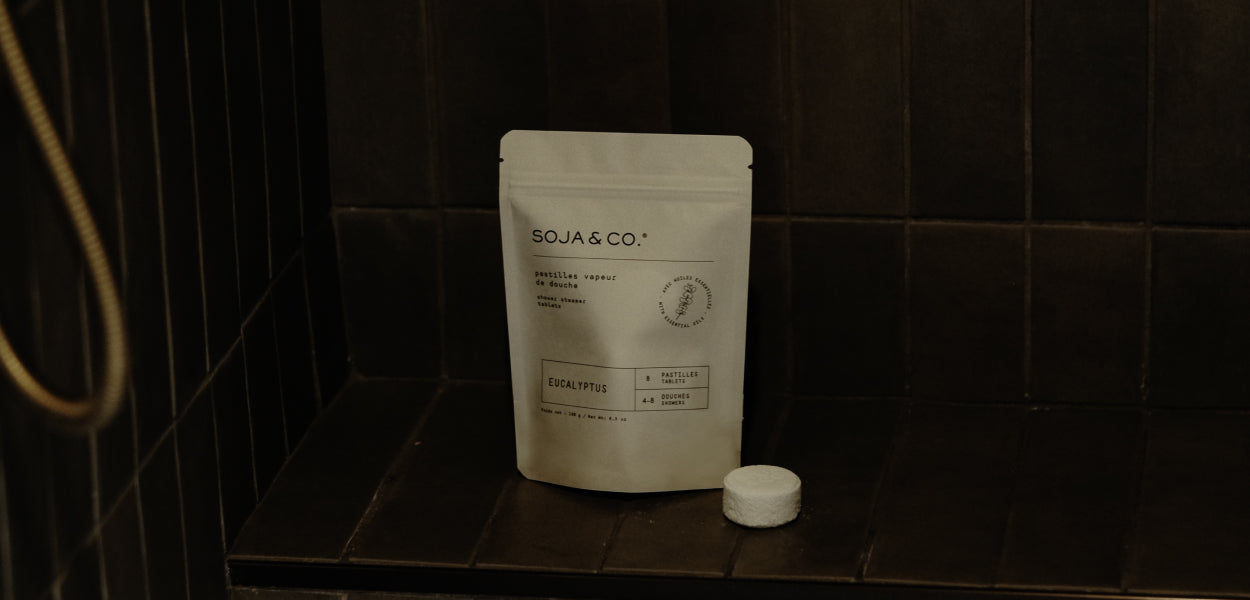
Shower Steamer Tablets
set the tablet down, inhale deeply, and soak in every blissful second
01. place the tablet on the shower floor
- unwrap and take one tablet
- place it on the shower floor, away from the direct stream — it should get wet, but not fully submerged, so it melts slowly

02. turn on the hot water
let the steam build — it’s the key to unlocking the soothing power of eucalyptus essential oil
03. breathe deeply
let the scent wrap around you — and lose yourself in the moment


04. precautions
- some tablets may break during transportation due to the nature of the product, but this does not affect their effectiveness and they remain entirely usable
- grey spots can appear as natural ingredients like essential oils and menthol group together. this does not compromise the product’s quality or safety
- for shower use only, do not use in the bathtub
- do not handle the tablets with wet hands
- the tablets are slippery when wet, do not step on them
- avoid contact with eyesand do not ingest or apply to the body
- store out of the reach of children and pets
- pregnant or breastfeeding? consult physician before usage